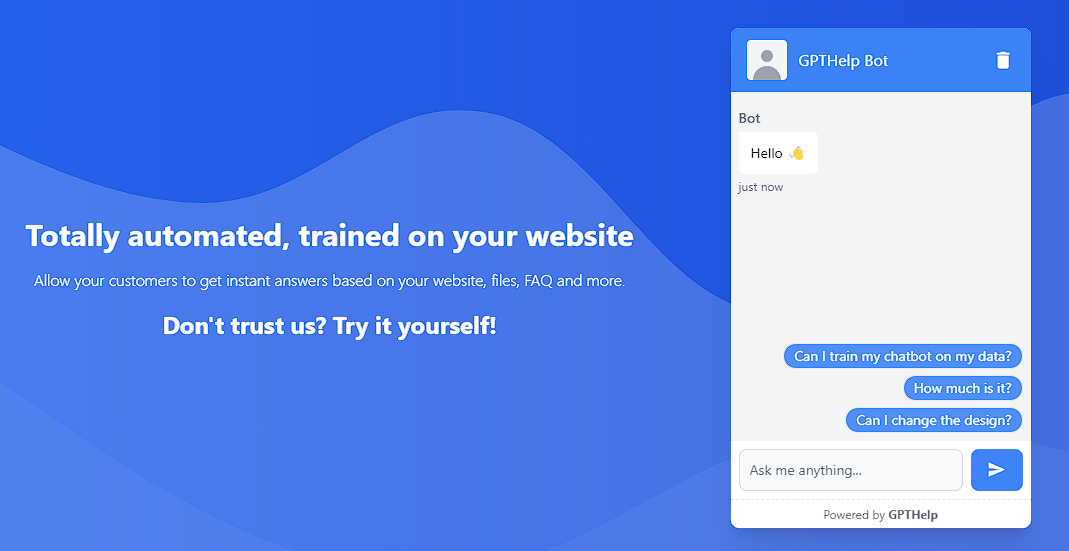
Incorporating a chatbot into your Wix website can significantly boost user interaction and provide immediate customer support. With GPTHelp.ai, adding a custom AI chatbot is a straightforward process. By integrating a chatbot, you ensure that visitors receive timely assistance and engagement, which can lead to improved satisfaction and potentially increased conversions. Follow the steps below to seamlessly add GPTHelp.ai’s chatbot to your Wix page.
Key Takeaways
- Easy integration of a GPTHelp.ai chatbot into your Wix website.
- Enhanced user engagement with immediate support.
- Customizable options for better alignment with your brand.
- Streamlined setup process without advanced coding knowledge.
Step-by-Step Guide to Adding a Chatbot to Your Wix Page
Step 1: Accessing the Wix Website Editor
Begin by logging into your Wix account. Locate the site you want to edit and click on the "Edit Site" button, typically found on the upper right corner of the page. This action will open the Wix Website Editor in a new tab, where you'll be able to make changes to your site.
Step 2: Adding Custom Code
Once in the editor, click on the plus icon + labeled "Add" in the left-hand menu. This menu allows you to add various elements to your site. Scroll down until you find "Embed," then select it. From the resulting options, choose </> Custom Code. A Settings pop-up window will appear, prompting you to add your custom code.
Step 3: Inserting Your Chatbot Code from GPTHelp.ai
Now, it's time to get the embed code for your custom chatbot from GPTHelp.ai. After setting up your AI chatbot and customizing it according to your preferences, copy the provided embed code.
Back in the Wix editor Settings > Custom Code page, click “Add Code” under "Body - End." Paste the copied embed code inside the code snippet text area provided.
If desired, rename your Custom code from "Custom" to something more specific for easy reference later on.
Create Your Custom Chatbot on GPTHelp.ai
Step 4: Configuring Code Settings
In the “Add Code to Pages” section, select “All pages” followed by "Load code once" from the drop-down list. This ensures that your chatbot loads across all pages of your website without any additional configuration.
Make sure that under "Place Code in," the option for "Body - end" is selected. This tells Wix where on each page you want the chatbot script to load.
Under the Code Type, choose “Essential.” This classification tells Wix that this piece of code is crucial for your site's functionality and should not be blocked by browsers with strict privacy settings.
Finally, click “Apply” to save these settings. The changes will be applied instantly, but make sure you save your overall site changes before exiting the editor.
Step 5: Test Your New Chatbot
After applying and saving changes within the editor, preview your site by clicking on the preview button within Wix. Engage with your newly added chatbot feature to ensure everything is working correctly. It’s important that you test various interactions to confirm that responses are as expected and align with what was configured on GPTHelp.ai.
Conclusion
Adding a chatbot from GPTHelp.ai to your Wix website is an excellent way to enrich user experience and offer quick customer service solutions directly from your web pages. By following these simple steps, you can enjoy the benefits of AI-powered interactions that keep users engaged and supported throughout their visit on your site.
For more information or if you encounter any issues during setup, feel free to reach out through GPTHelp.ai's support.
Frequently Asked Questions
Q: Do I need coding experience to add a chatbot to my Wix site? A: No coding experience is necessary; follow the step-by-step instructions above for a smooth setup process.
Q: Can I customize my chatbot's appearance? A: Yes, customization can be done directly on GPTHelp.ai before obtaining the embed code for your Wix site.
Q: Is it possible to have my chatbot appear on selected pages only? A: Absolutely! Instead of choosing "All pages," specify which pages you'd like your chatbot to appear on during step 4.
For further inquiries or personalized assistance with setting up your AI chatbot, visit GPTHelp.ai’s FAQ or contact our customer support team.


